Boxward helps you warm up your email addresses to improve their deliverability and ensure your emails reach peoples’ inboxes (and not the spam folder).
This guide will walk you through the setup process.
We also have a video guide here as well:
To get started, you will need an email address.
It can be an email address with any provider, such as:
- Google (Google Workspace or Gmail)
- Microsoft (Microsoft 365 or Outlook)
- Zoho
- Or any other providers
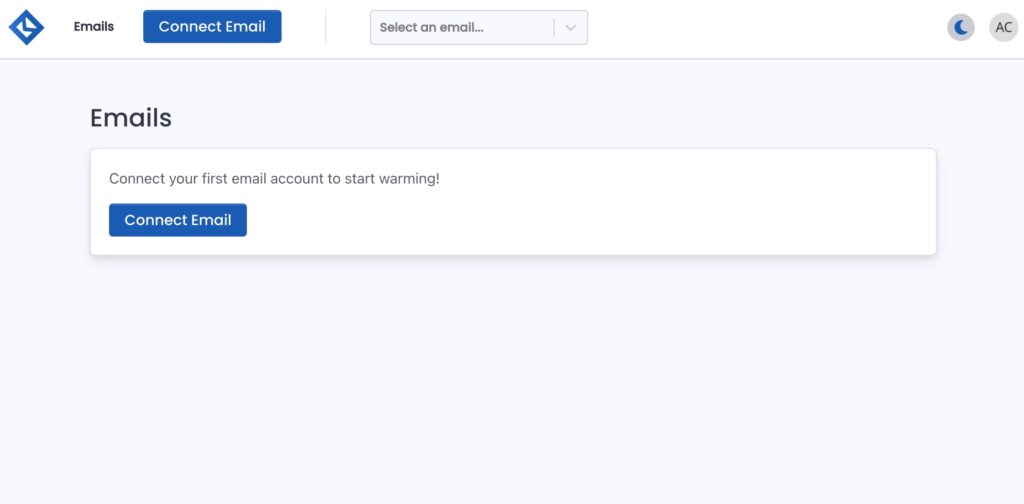
To connect an email address, when logged in, click the Connect Email button.
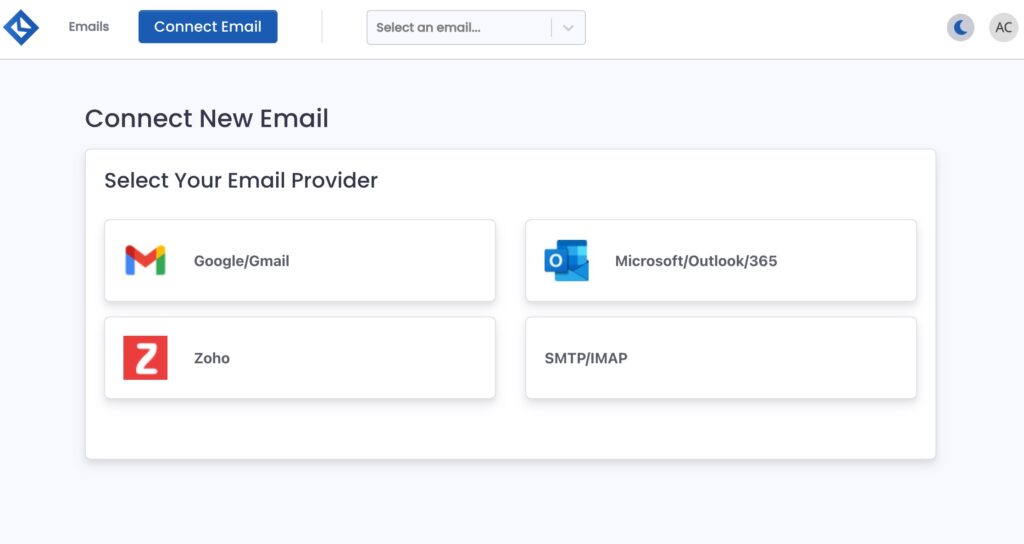
Next, choose your email provider for the email address you want to connect.
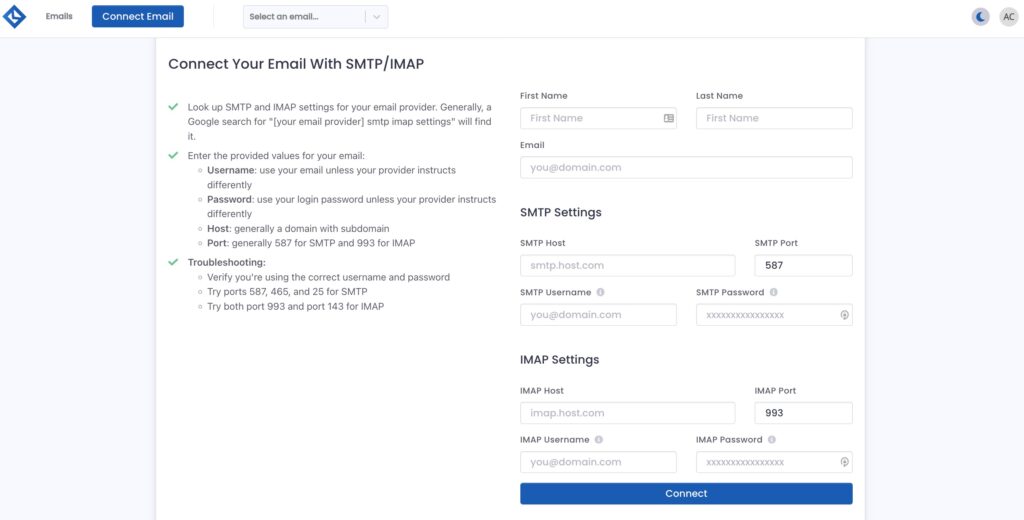
Then, you will need to enter the email address’s credentials.
For specific instructions on connecting email providers, here is:
- Microsoft
- Zoho
- Other (SMTP / IMAP)
Once complete, click Connect.
Setting up Your Email in Boxward
On the next screen, you will be asked to enter your information – Company Name, Position, Industry, Time Zone.
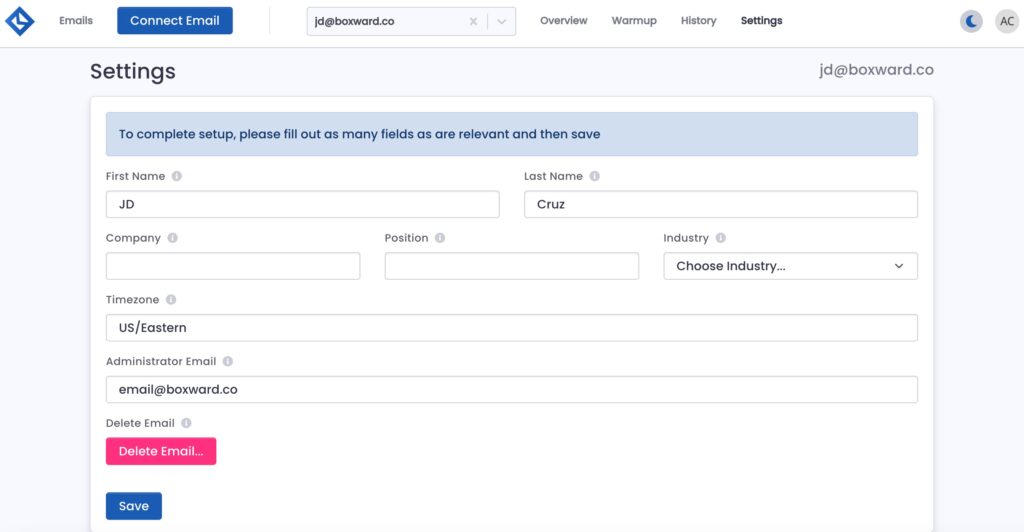
The reason for this is because providing this information will better help us tailor the email warmup for your account.
Click Save when complete.
Next, Boxward you are going to be directed to the warmup page to set your warmup schedule.
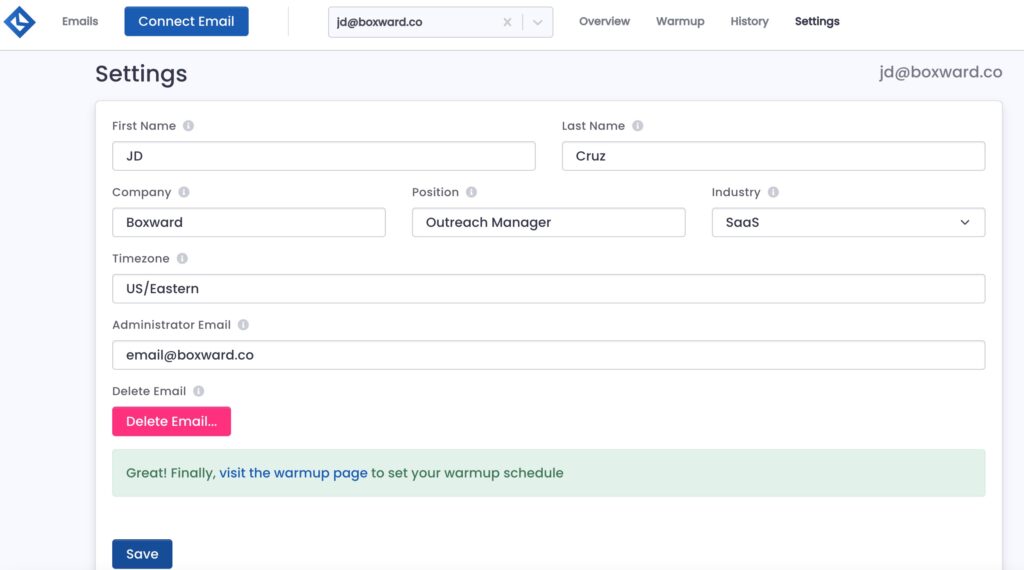
You can either get to the warmup schedule page by clicking the link that appears or by clicking the Warmup tab at the top of the screen.
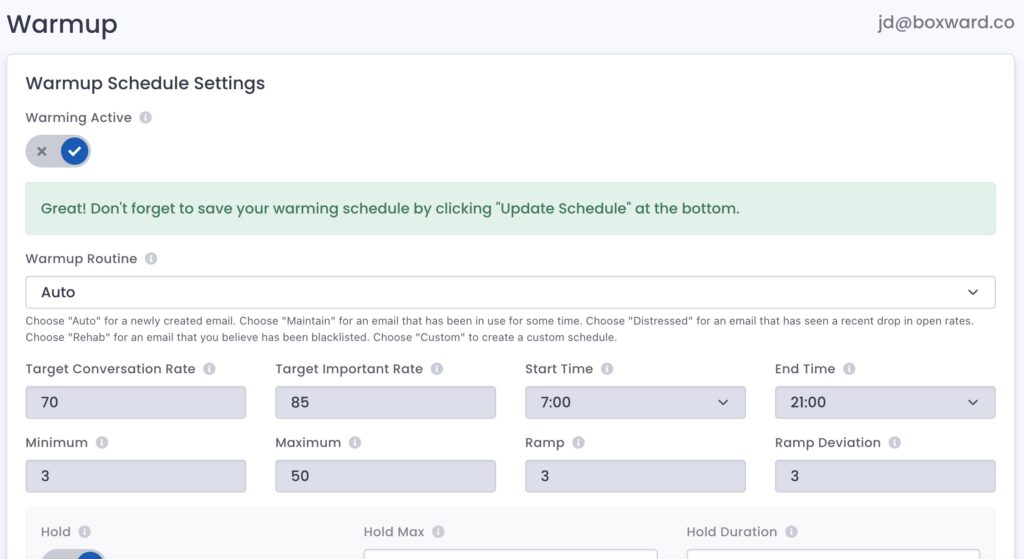
When you get to the warmup schedule page, you will get a prompt asking about your email address to set what kind of warmup schedule should be set for your email address.

For each email address going through the warmup process, it can have a unique schedule for the amount of emails it will send and receive over time along with the reply rate, important rate, and other email features.
Boxward’s popup gives you options for warmup settings for your email addresses, including:
- Brand new email
- Existing email with good deliverability
- Existing email with poor deliverability
- Existing email that has been blacklisted
- I want to configure manually
After you choose your option, then you can turn on your warmup schedule.
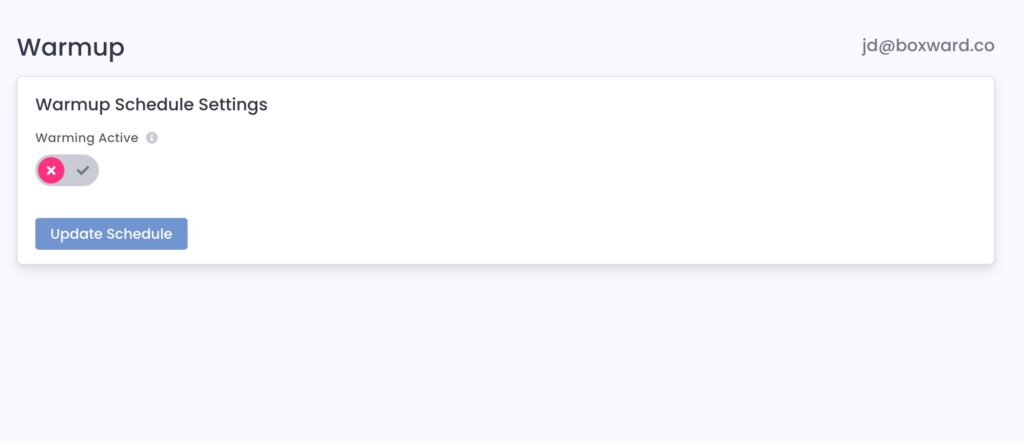
Click the toggle to activate warmup.
Then click the Update Schedule button to save.
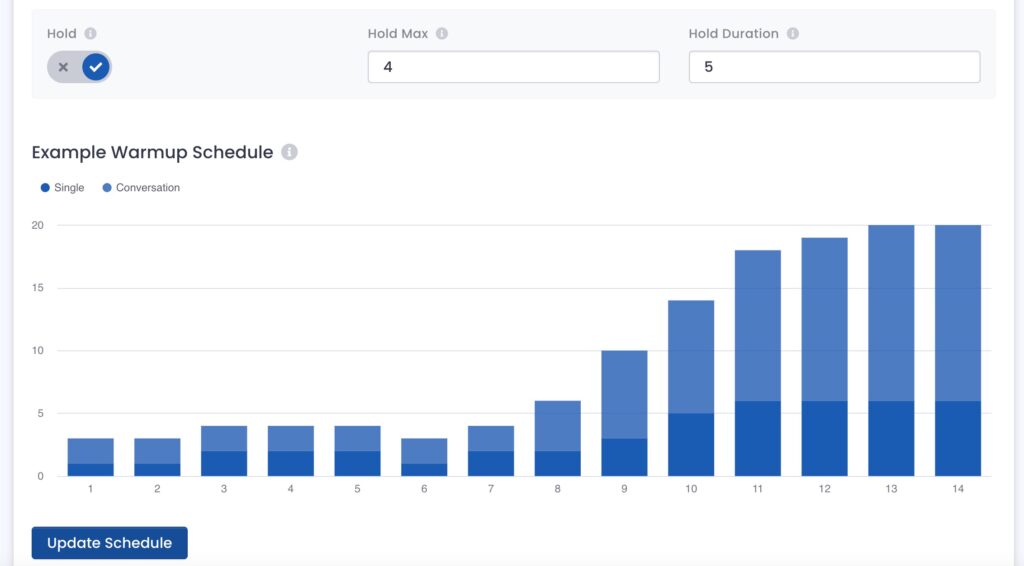
And now your email is connected and warmup is turned on!
 in Boston.